You can use the AnywherePOD and connect it to your store, publish products, and test personalization features.
Step 1: Connect Your OpoShop
Make sure your OpoShop is connected to the integration.
- Connecting directly through your OpoShop dashboard, or
- Using the Connect option inside the integration panel
Once connected, your store will be linked and ready for publishing.
Step 2: Open Your Product List
- Go to your product list and, once you’re ready, click Publish.
Step 3: Publish Your Product to OpoShop
At the top of the product card, click Push to EverBee. This will send the product directly to your OpoShop.
After publishing, you can:
- Click Edit in EverBee, or
- Open your EverBee product list to confirm the product has been added
The product should appear at the top of your list. If images are still loading, they will show shortly as the sync completes.
Test Your Product
- Review Personalization Option
Open the product inside your store to review the personalization features available to customers. Depending on the product, they may be able to:
- Enter a name or custom text
- Upload an image
- Use the crop tool
- Preview the personalization in real time
Test the Add to Cart Flow
Add the product to your cart. All personalization details will be included automatically. At checkout, the order is submitted and imported into AnywherePOD for processing.
Troubleshooting and Tips
- If images do not appear right away, allow a moment for the transfer to complete.
- If your product feels complex to test, you may receive a simplified version with basic text options.
- Make sure your OpoShop connection is active before publishing.
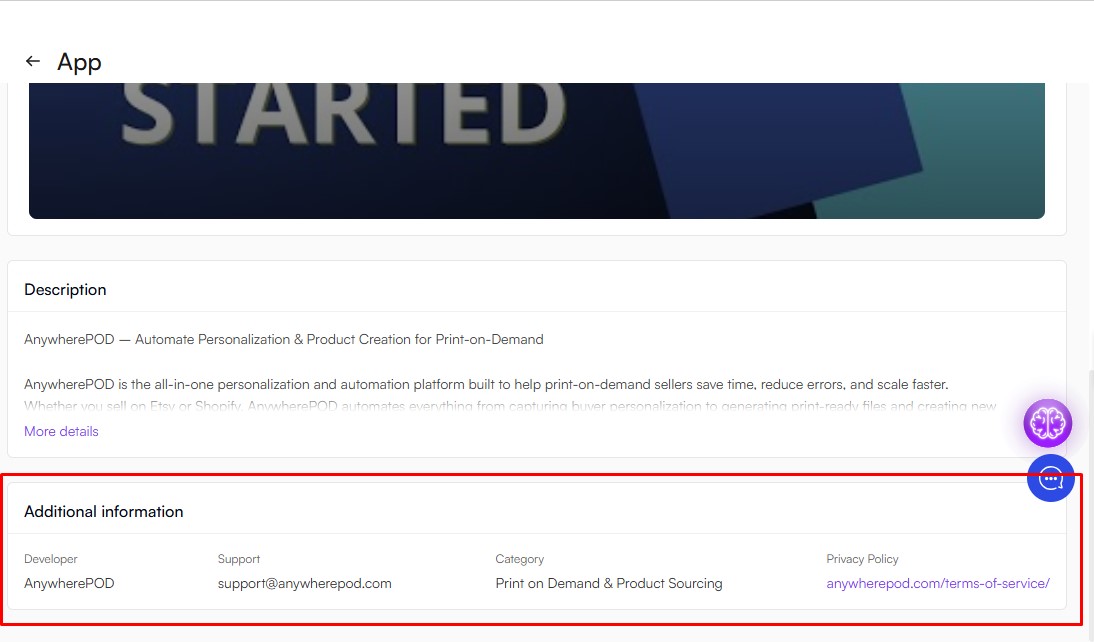
If you need help with AnywherePOD, you should contact the app developer directly. Please visit the app's listing page on the OpoShop App Market and use the Additional information section to find contact information or support resources.