

How to Set Up a Payment Processor for Your EverBee Store
Getting your payment processor set up on EverBee Store is quick and friendly! Here’s a step-by-step guide with actionable tips, aiming to get you accepting orders in just a few minutes.
First, you will have to create your Stripe store account.
- Go to your store dashboard
- On the left sidebar, look for Settings
- Navigate to Payments & Tax
- Integrate Stripe
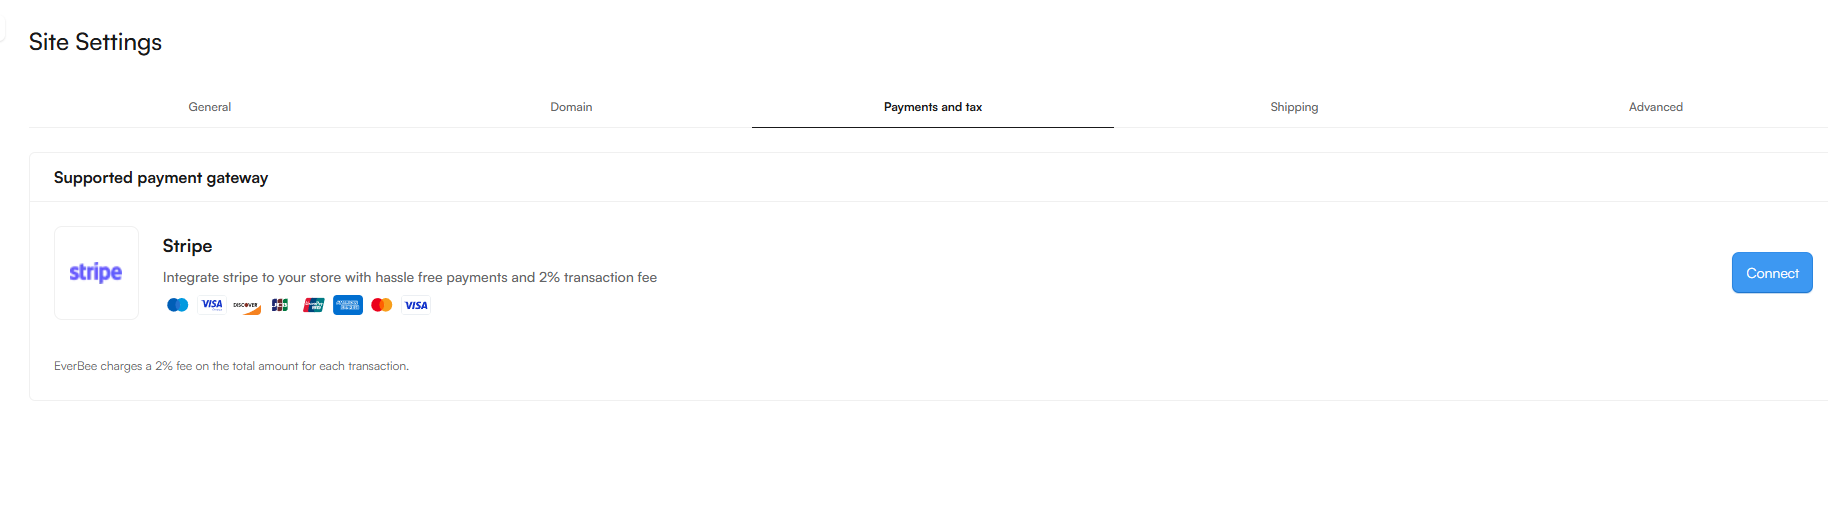
You’ll be asked to sign in or create a Stripe account. Enter your business info (Stripe needs this for legal reasons, but your real name stays private from your customers). Follow the Stripe prompts for details like: Bank account (for your payouts!), address, and personal ID (standard for payment processing). Once you complete payments through your EverBee Store will go directly to your chosen account!
Need to issue a refund? You’ll do it directly from your Stripe dashboard. Want to customize invoices or see analytics? Stripe’s dashboard gives you all the control and data you need.
Quick Troubleshooting
If Stripe isn’t connecting, double-check you’re logged in with the correct Stripe email or try reconnecting after clearing browser cookies. For payouts, Stripe usually transfers funds to your bank in 2-3 business days.
Key Reminders
You handle refunds and any tax needs yourself. EverBee doesn’t process refunds for you. Your public shop shows your shop name and logo, never your real name or bank info. Customers see your brand, not your personal data.
Check out this video for more information:
If you have any further questions, please contact us at hello@everbee.io.