

Adding subscriptions as a purchase option lets you sell products repeatedly. By using the Subscriptions app, you have more flexibility in the frequency of the subscription and the discount types that you can apply to your subscription plans.
Getting Started
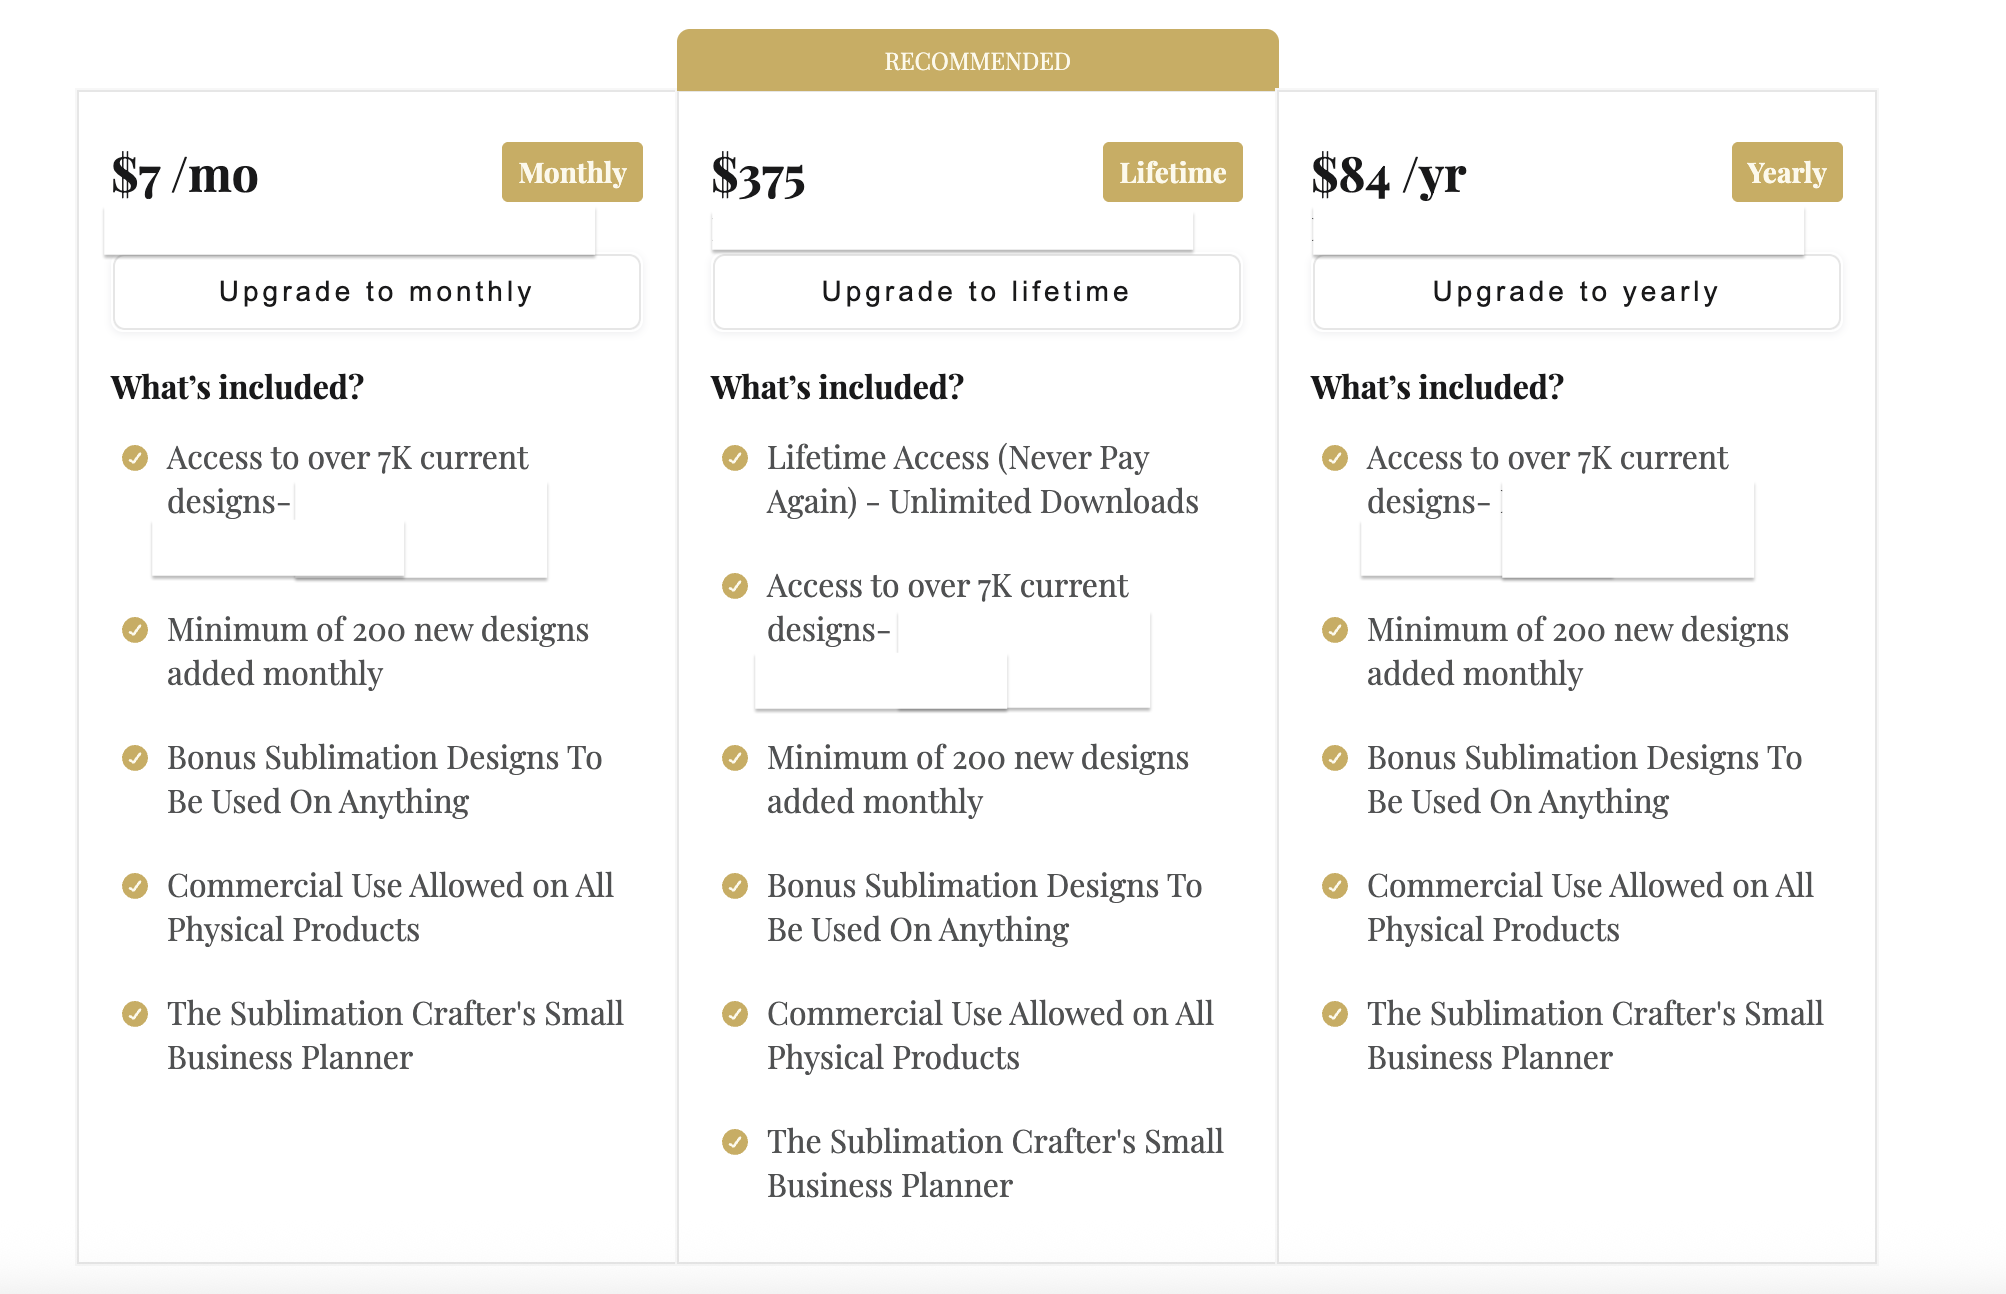
When you first install the Subscription App, you’ll see three default pricing plans already set up for you. These are just starting points- you can edit, rename, or customize them as you wish.
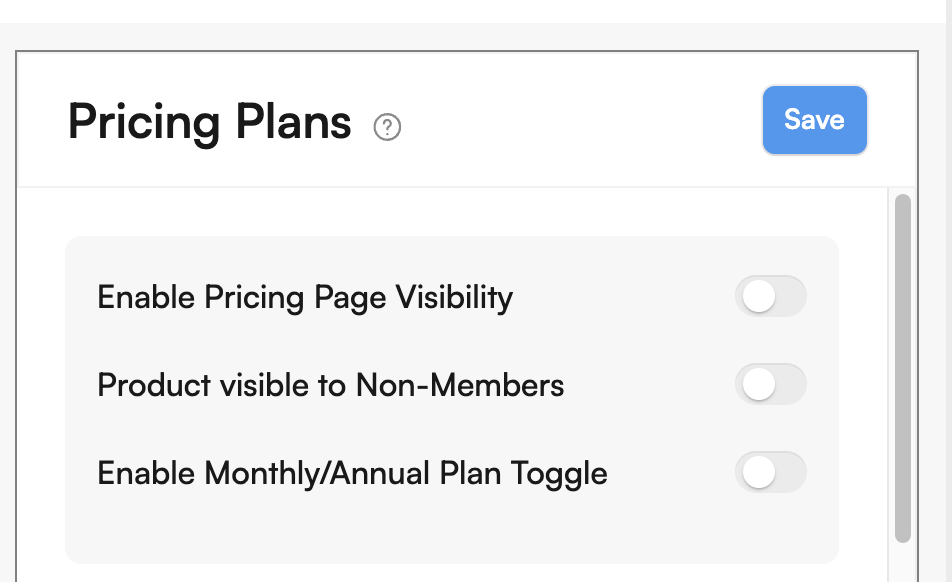
Global Subscription Page Settings
1. Pricing Page Visibility
Use the toggle to control whether your pricing page is visible to customers.
Tip: Only enable this after you’ve finished setting up your plans. Once enabled, a “Subscription” tab will appear in your site’s header (the label can’t be changed).
2. Product Visibility for Non-Members
Even if a product is part of a subscription, non-members can still see it.
If they try to access a restricted product, they’ll be prompted to buy a plan.
3. Monthly/Annual Toggle
If you offer both monthly and annual plans, this toggle lets users easily switch between them on your pricing page.
Customizing Each Plan: Plan-Level Settings
Each pricing plan can be tailored to fit your business model and audience. Here’s what you can adjust:
Plan Title
This is the headline for your plan. Make it catchy and clear!
Plan Description
Add a short summary or highlight the best perks of the plan.
You can choose to show or hide the title and description for each plan.
Pricing Options
Choose from:
Fixed Price: One-time payment for lifetime access.
Subscription-Based: Monthly or yearly billing.
Free: No charge for access.
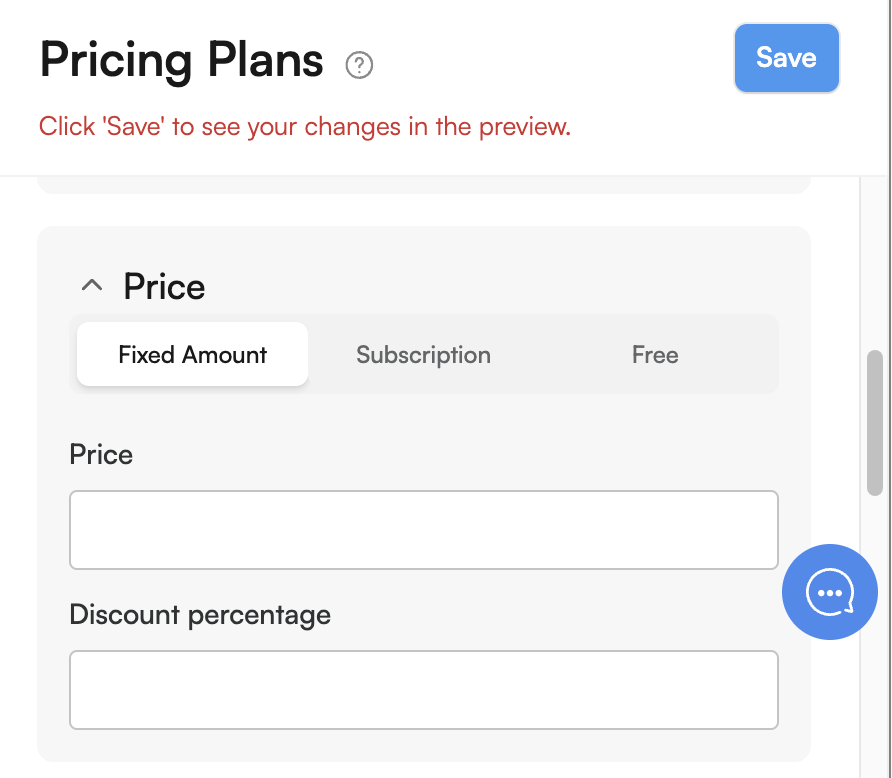
Discount Percentage
Offer a percentage off products included in the plan.
Example: If a product is $10 and you set a 50% discount, members pay $5.
Products
Select which products are included in each plan. Only subscribers can access these.
Pages
Restrict or allow access to specific pages based on a user’s subscription.
Benefits
List out the perks (like exclusive content, priority support, etc.).
Call-to-Action Button (CTA)
Customize the button label- think “Subscribe Now” or “Get Started.”
Plan Banner
By default, a “Recommended” banner is shown. You can change this (e.g., “Most Popular”) or remove it.
Saving & Previewing Changes
All changes are visible in preview mode first-nothing goes live until you hit “Save.”
You don’t need to enable the pricing page to preview your updates.
This means you can tweak and perfect your plans before your customers ever see them.
App Access & Data Safety
The Subscription App only works if website registration is enabled. So keep user registration on.
If you uninstall the app, your data is safe. When you reinstall, all your previous settings and data are restored automatically.
Real-Life Example: Setting Up a Membership for Digital Products
Additional tips:
Preview before publishing: Make sure your plans look and feel right before making them public.
Highlight your best value: Use banners like “Most Popular” or "Recommended" to draw attention to your top plan.
Keep it simple: Clear titles, concise descriptions, and straightforward pricing help customers decide faster.
Leverage discounts: Offering exclusive discounts to members can boost sign-ups and increase loyalty.
Important:
- Click on "Save" to see the changes in the preview
- Before going live with your subscription page, make sure that you have connected to Stripe