

Hello there, everyone!
Before starting the setup guide, check the EverBee Email Plans here.
Now, the first step to set up your EverBee Email is to connect your Etsy shop to your EverBee account. Our wizard will guide you through the steps, and once you’re inside the EverBee Email, we recommend the following steps:
- Go to the Settings tab and check if the information is correct. (sender name, reply email address, and your shop address)
- Go to the Subscribers tab and add yourself as a subscriber to receive emails. You can do that by clicking on Add Customers >> Add Subscribers.
- You can also create a new list or import your existing list (need help importing your email? Please see it here.)
- Go to the Grow tab and change your landing page with your brand colours and custom message.

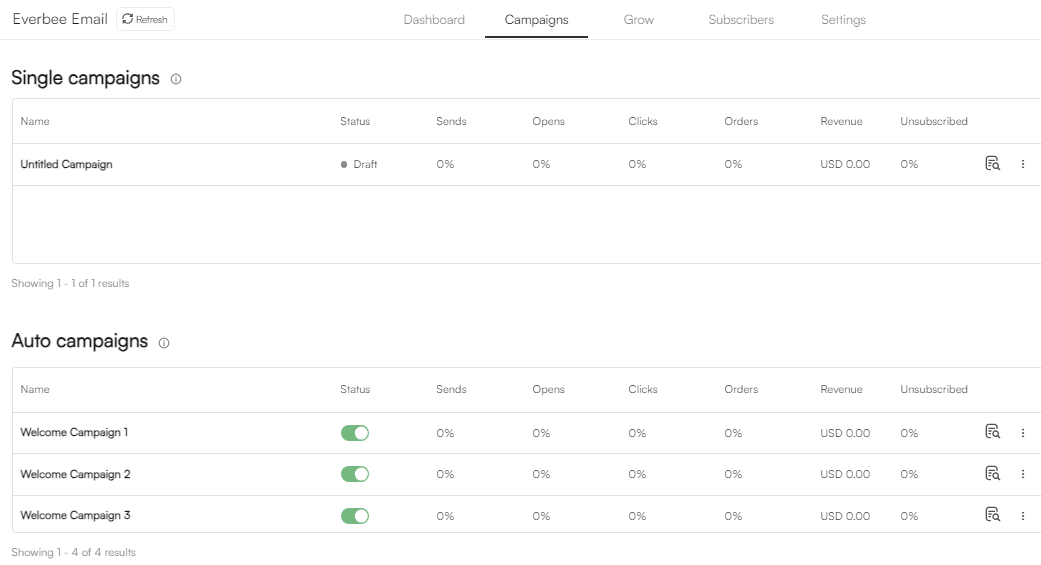
After you’ve completed the Email setup, it is time to work on your email campaign. Head over to the Campaigns tab, edit the campaigns, and update the status (inactive or active) if necessary.
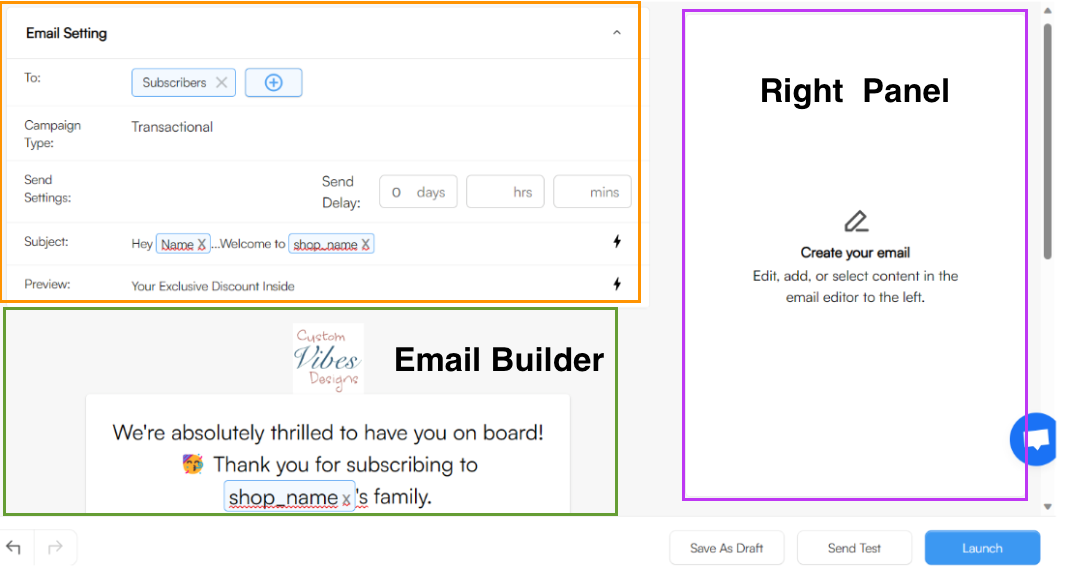
How to Edit Your Email
EverBee Email has a simple yet powerful email editor.
-Email Setting
-Email Builder
-Right Panel
- Text
- Button
- Divider
- Image
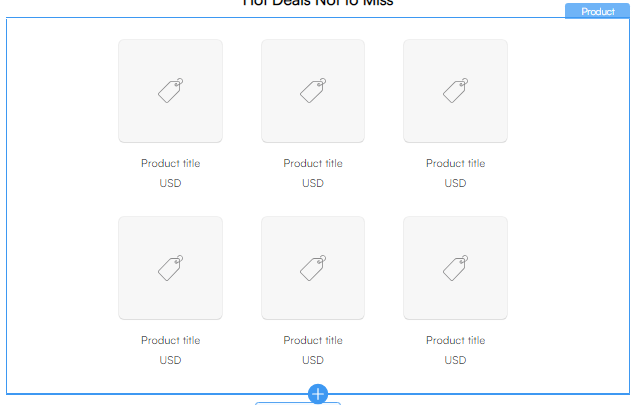
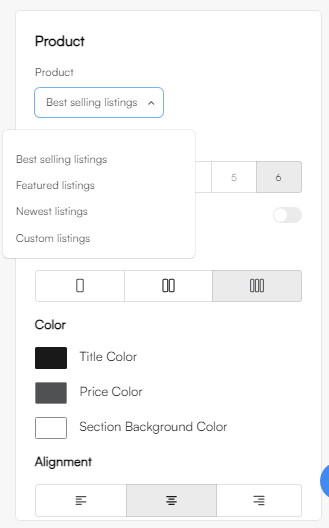
- Product
Also, you may need to upgrade your EverBee Email Plan to access all features.

- Preview how the email will look for your customers (by clicking on “Preview”, right side top corner)
- When you finish, you must "Save as Draft". Then, you can send a test email to yourself or activate the campaign.
If you need further assistance, feel free to contact us at hello@everbee.io
Here, you can access additional information and videos: