

In the OpoShop, collections are a way to organize and group products into categories, making it easier for customers to browse and find what they need.
By using collections, you can effectively organize and promote your products based on themes, product types, season, and any other relevant criteria.
- Creating Your Collection
Here you'll find the steps to create your Collection
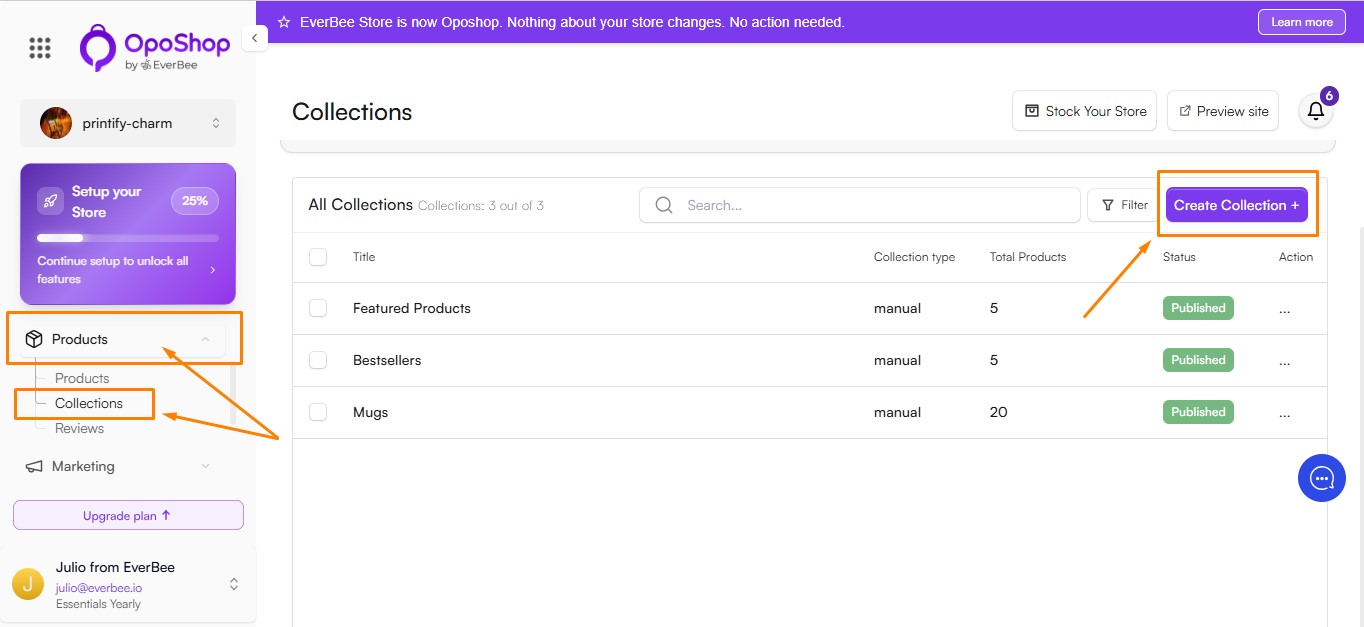
- From your Dashboard, navigate to Products.
- Click Collections.
- Select Create Collection to create a new collection.
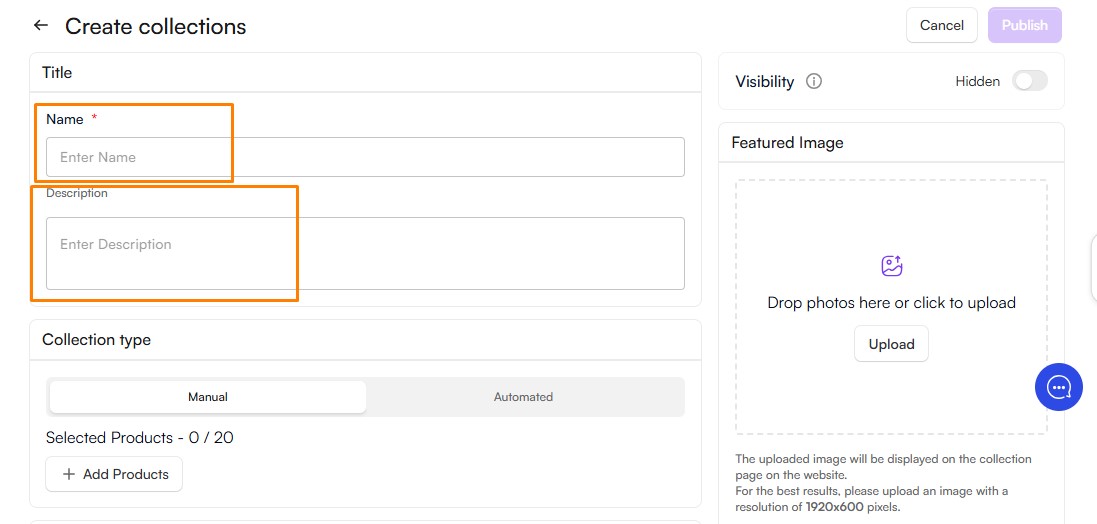
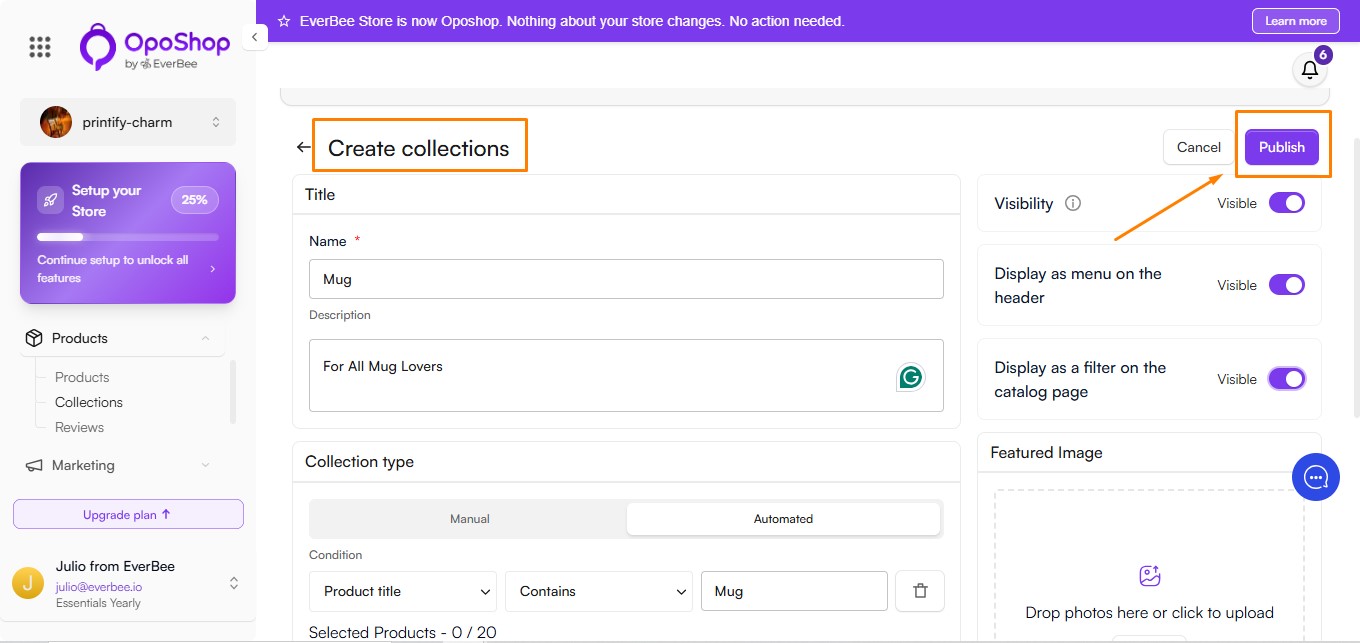
- Naming and Describing Your Collection
- Enter a name for your collection (for example, Men's Collection, Women's Collection, or Valentine's Day Specials).
- Add a description for reference: a short text that explains what your collection is about and also helps customers understand the purpose of the collection.
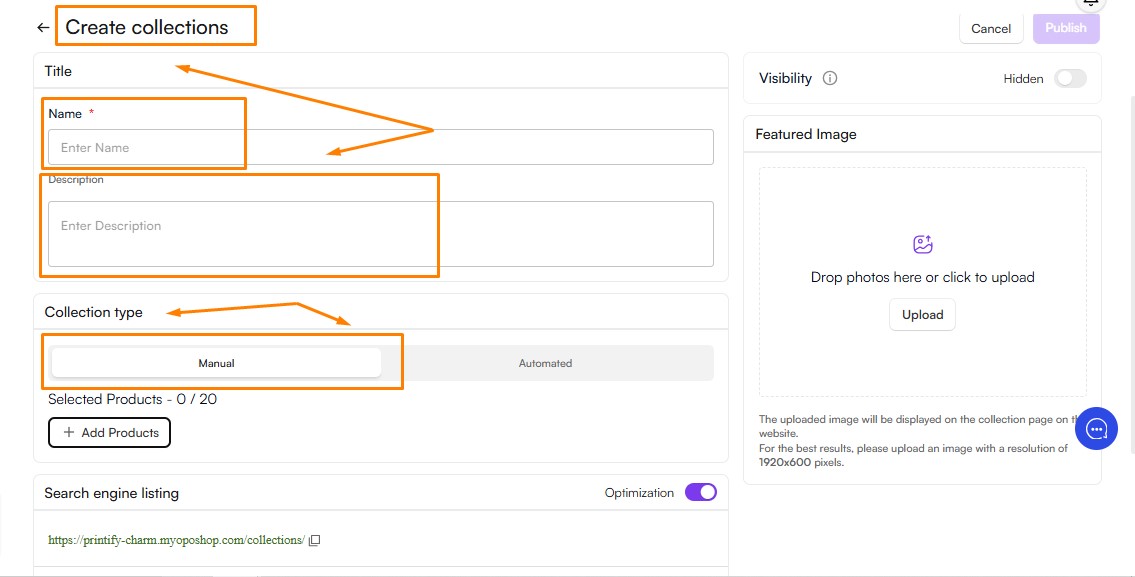
Choosing a Collection Type
OpoShop offers two collection types: Manual and Automated.
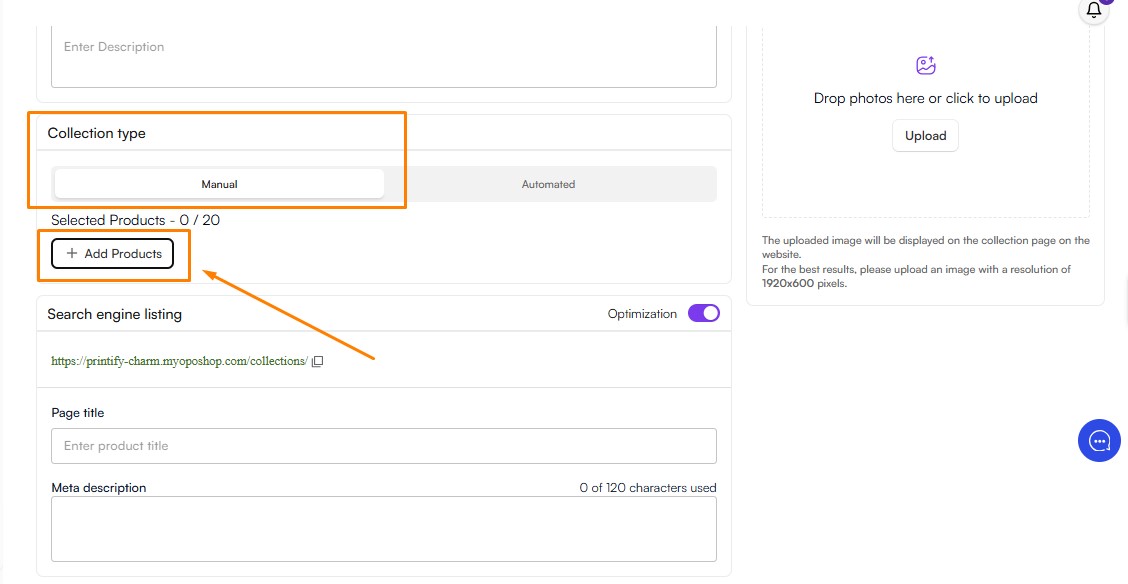
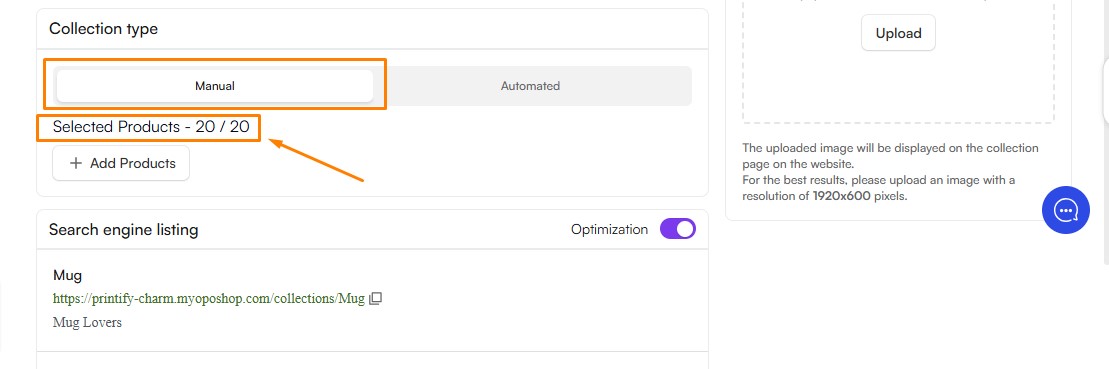
Manual Collection
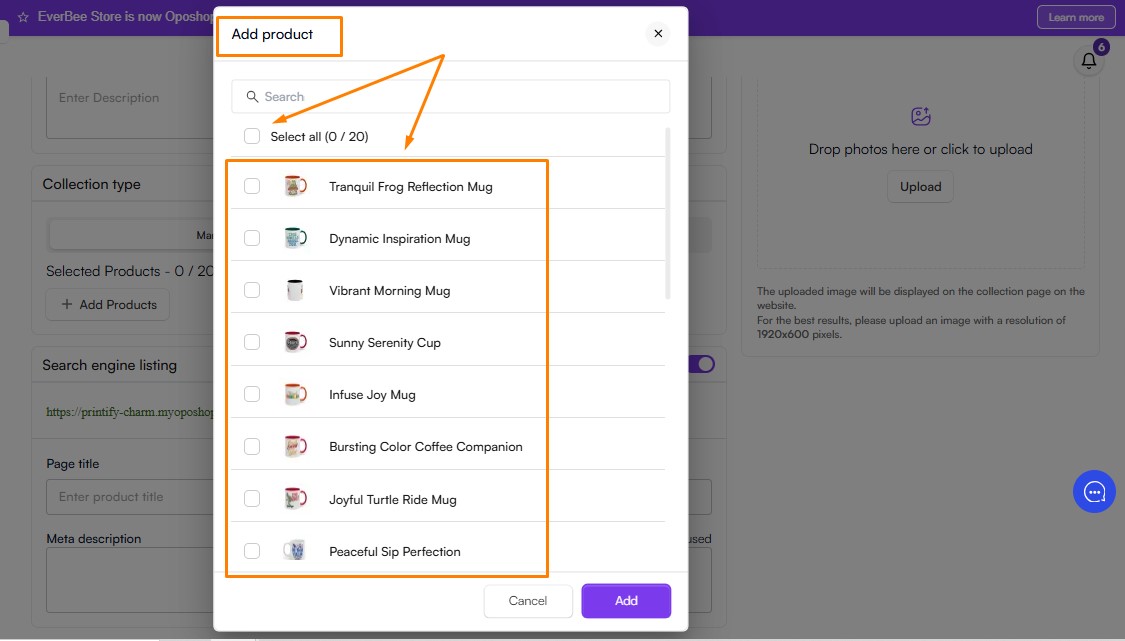
With a manual collection, you choose exactly which products to include.
- Add products to the collection individually.
- Products remain in the collection until you manually add or remove them.
- You can include individual products or specific variants (e.g., all XL-sized items in one collection).
- Ideal for curated, seasonal, featured, or promotional collections where you want full control over the products displayed.
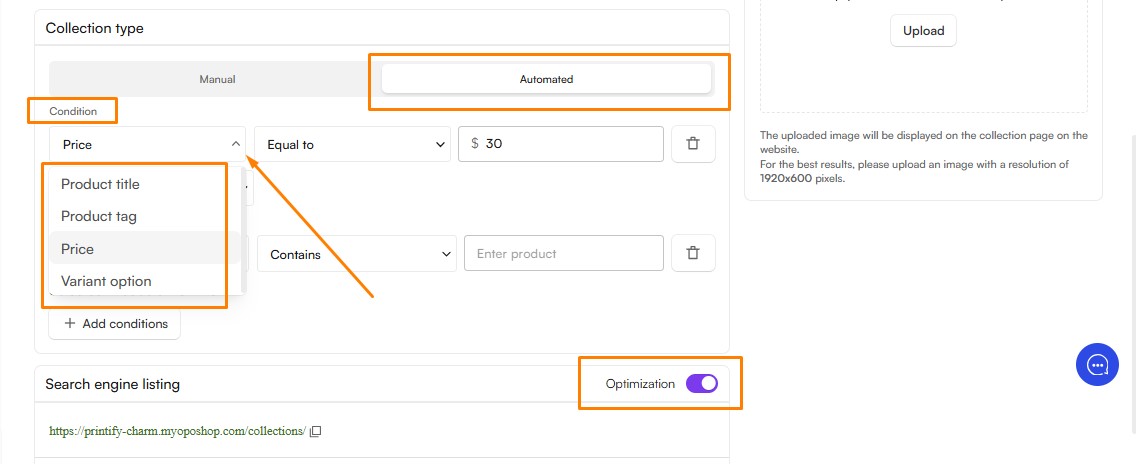
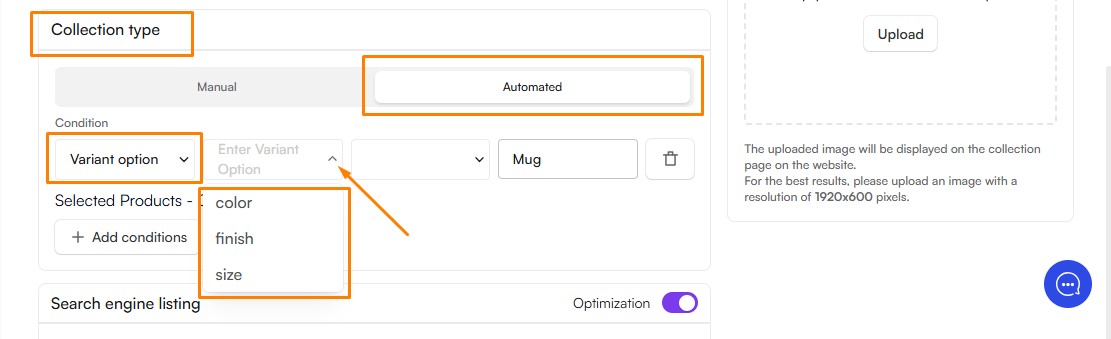
Automated Collection
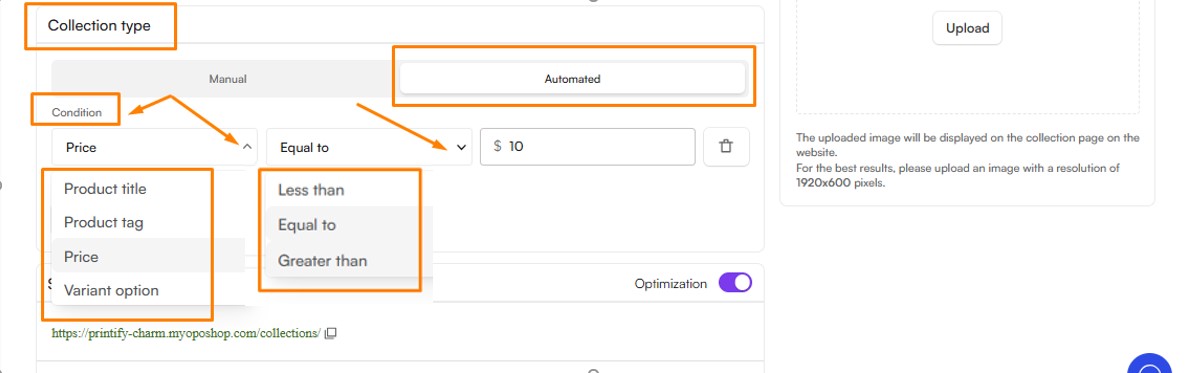
Select Automated to create a collection that automatically includes products based on rules you define. You can create conditions such as: Product Title, Product Tag, Price Range, or Variant Option
- Product Title: For example, products with "Mug" in the title can be grouped into a Mugs Collection.
- Product Tag: For example, all products tagged Men are automatically added to a Men's Collection.
- Price Range: For example, products priced under (or equal to) $30 can be grouped into an On Sale collection.
- Variant Option: For example, all products in White can be included in a White Collection.
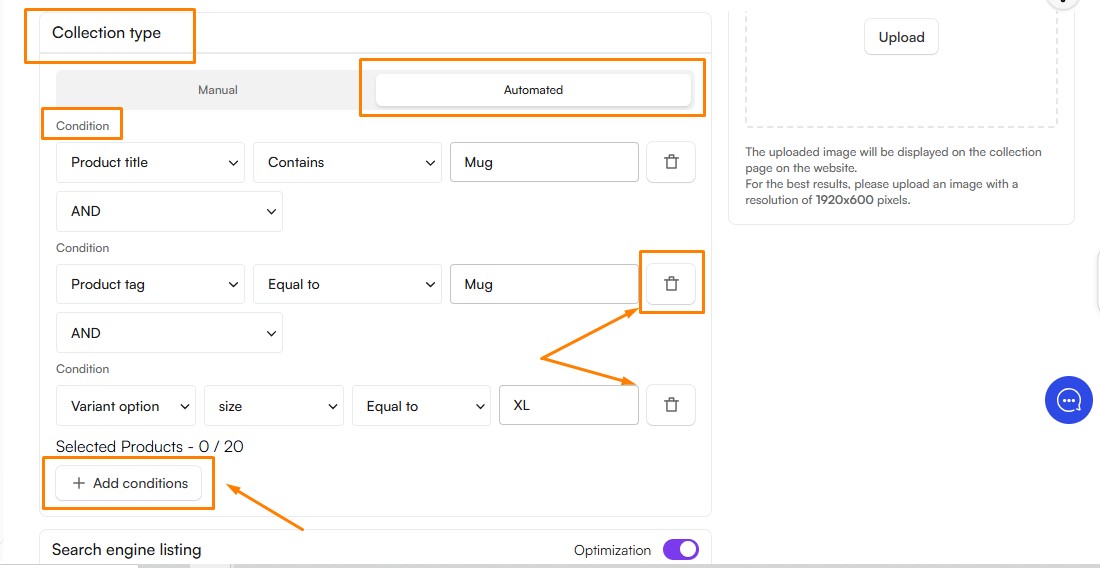
Products that match the selected conditions will be automatically added to the collection, helping you keep your store organized with less manual effort.
Adjust your collection rules using conditions such as Contains, Equal to, Less than, or Greater than.
For Variant Option, select the attribute you want to filter by, such as Color, Finish, or Size.
You can add multiple conditions to a collection and delete them as needed.
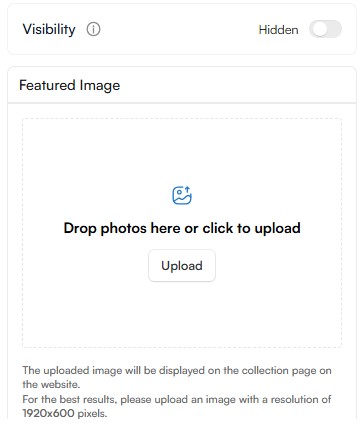
- Choosing a Collection Banner
You can upload a banner image to be displayed at the top of your collection page. For the best results, we recommend using an image with the following specifications:
- Resolution: 1920 × 600 pixels
- Format: JPG or PNG
- Using the recommended dimensions helps ensure your banner displays correctly across different devices and screen sizes.
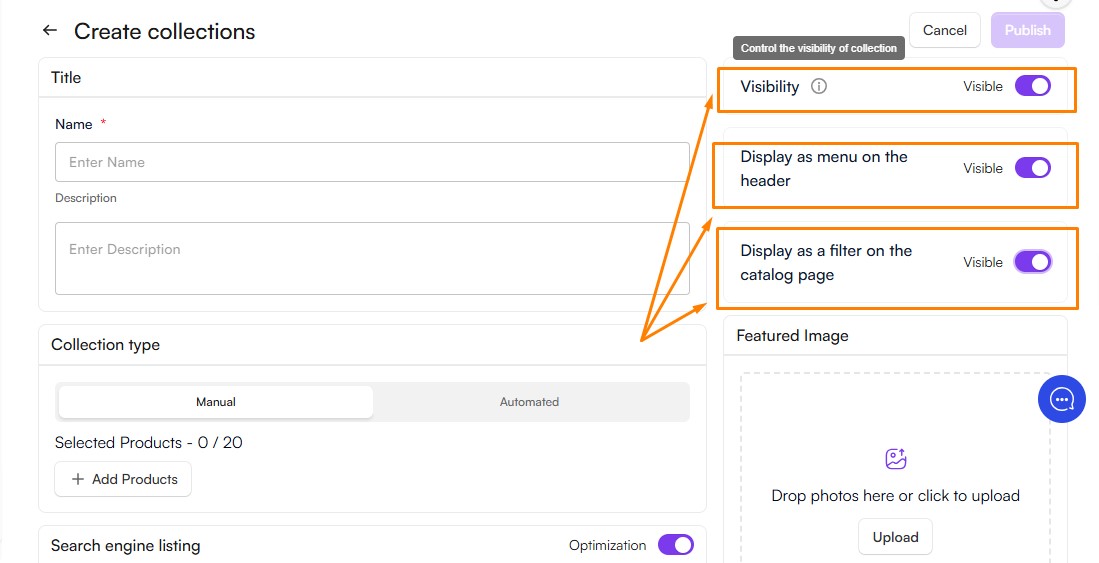
- Choosing Display Options
A collection will only be visible on your website when its Visibility setting is enabled. Once enabled, you can choose how the collection is displayed:
- Display as a Menu in the Header – Adds the collection to your website's header navigation.
- Display as a Filter on the Catalog Page – Makes the collection available as a filter option on the catalog page, helping customers narrow their search results.
- You can also display the collection in the header as a nested menu item, so it appears under another menu for better navigation and organization.
- Publishing Your Collection
Once you have finished configuring the collection settings, click Save to publish the collection and make it available in your store.
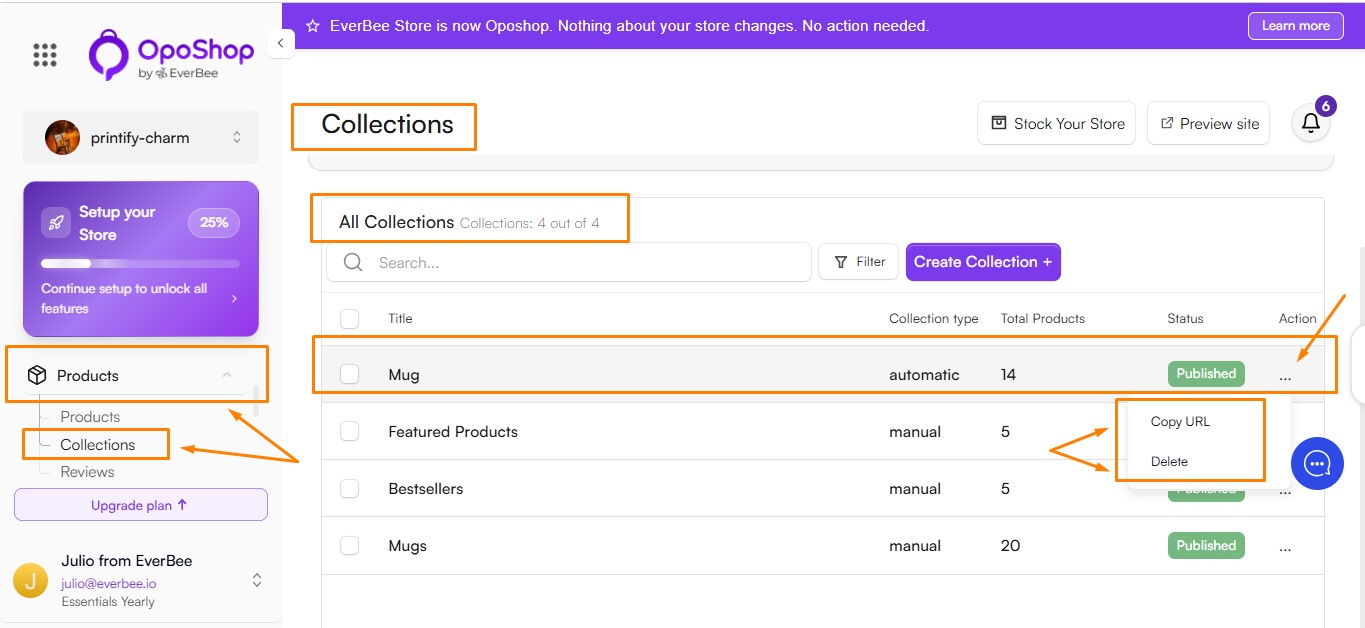
Collection Link
After saving your collection, you can copy its URL from the Collections page.
To find the collection link:
- Navigate to Products → Collections.
- Locate the collection in the list.
- Click the ⋮ (three dots) menu next to the collection.
- Choose one of the available actions:
- Copy URL: Copies the collection link to your clipboard, making it easy to share.
- Delete: Permanently removes the collection from your store.
Note: Deleting a collection does not delete the products assigned to it.
Note: This URL can be used in CTAS on other pages and to create nested menus.